Winter is a time to refocus

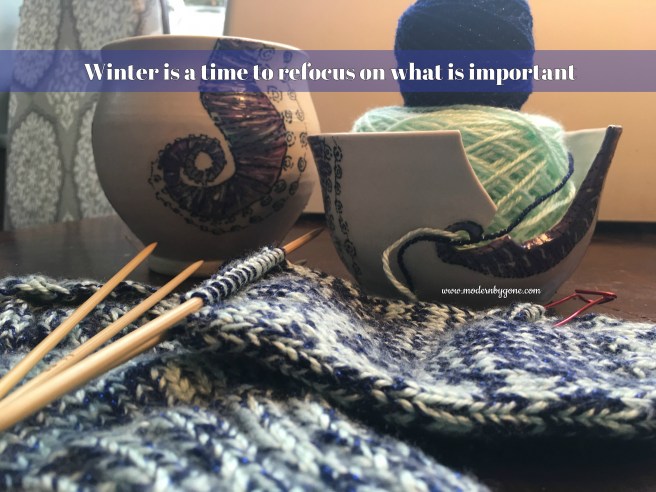
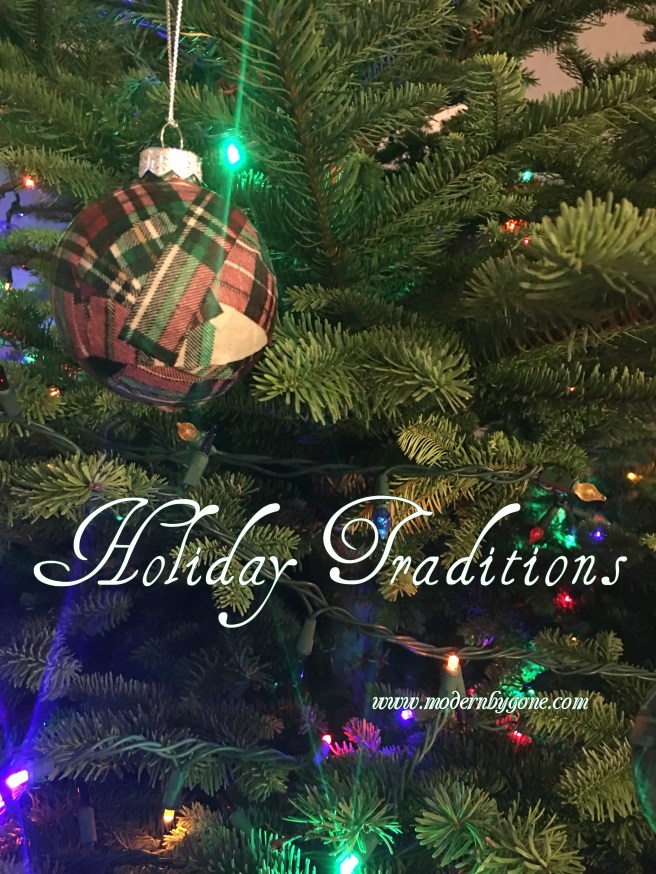
The first couple of weeks of the new year is a time of reflection for me.  I usually take a break from the busy things in life and try to refocus on what is important to me.  That is why I haven’t posted in a couple weeks.  I don’t usually set specific goals at this time of year.  I do take the time to think about what is important to me and try to refocus our time to reflect those activities.  This year, I want to focus on more time doing things I enjoy.  Crafting, playing games with friends, and writing.  The hubby and I want to focus on moving forward with the goal of building a new house or remodeling this one.


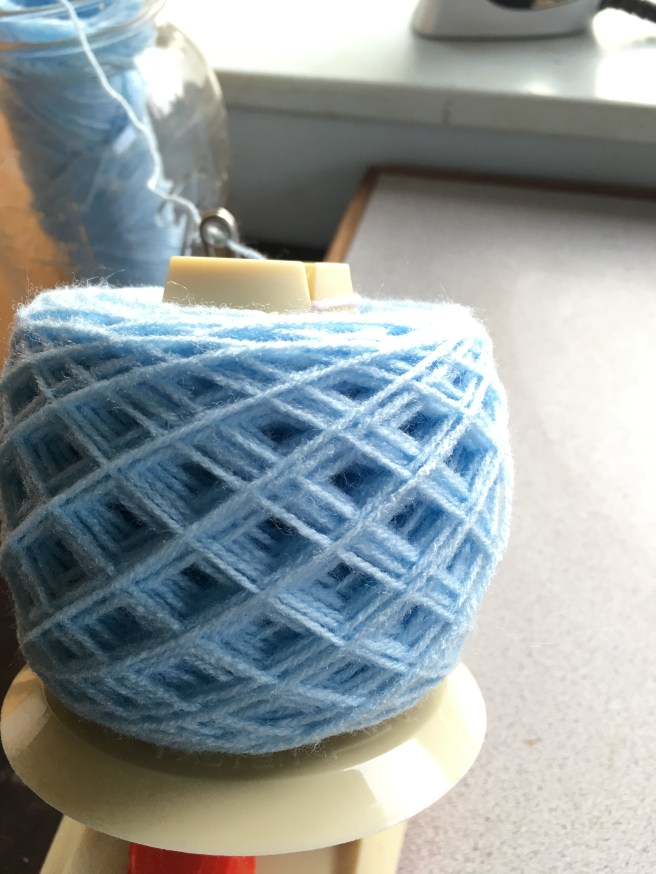
I have spent time working on knitting my cardigan.  I’m at the last inch of the front.  It seems like a never ending portion of the sweater.  I cannot wait to cast off and try it on!  The sleeves, of course will also take me forever to do with their endless stockinette stitch.
warmcirclecardigan

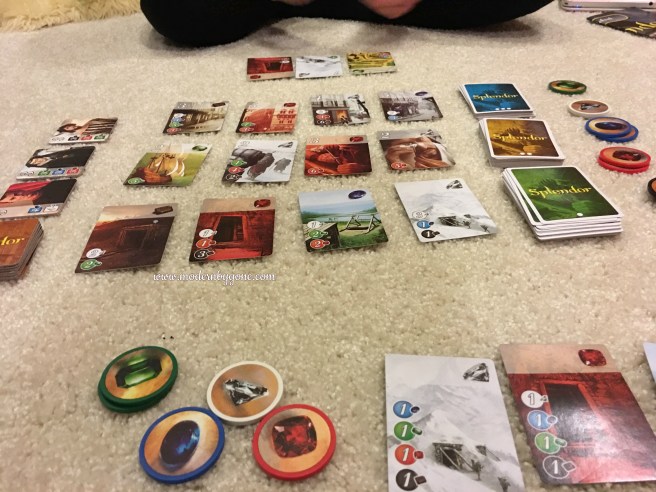
We have been trying to get out and spend more time playing games with friends.  I’ve discovered a few new ones that I would love to add to our collection.  Splendor and Tsuro were quite fun and at the top of my list for new games to purchase.

Splendorgame

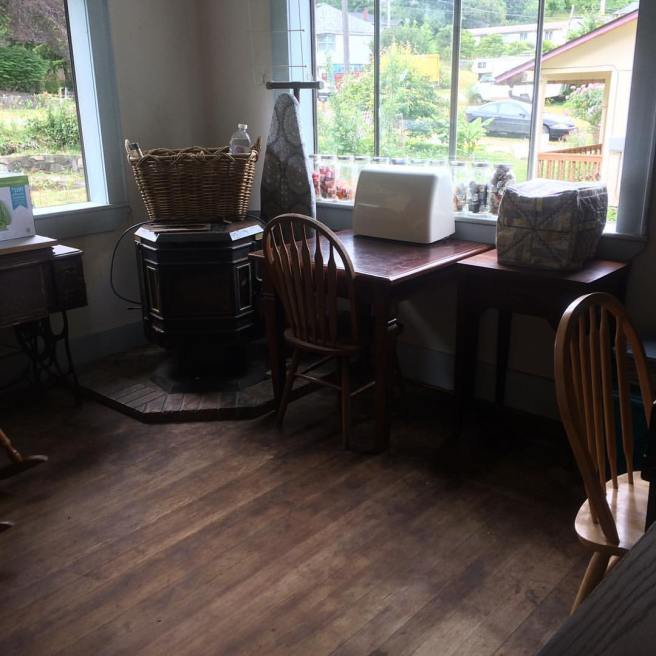
The hubby and I have spent time looking at shiny new cars and pretty new houses.  Long term goals and all that.  For the here and now, we have been cleaning and organizing in our home.  Clearing clutter and making time to rearrange for a fresh new look.

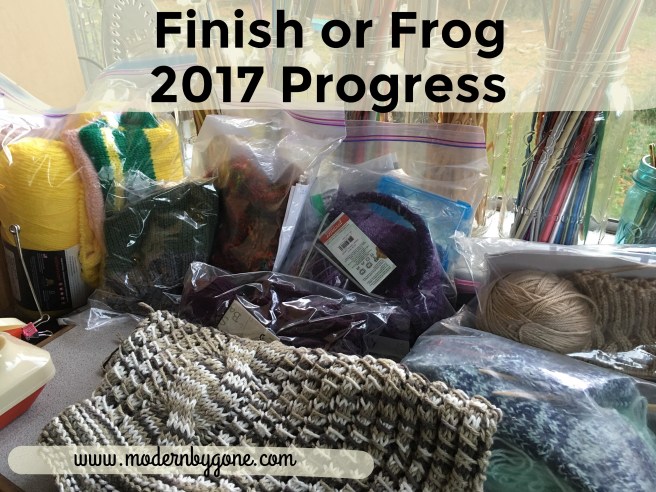
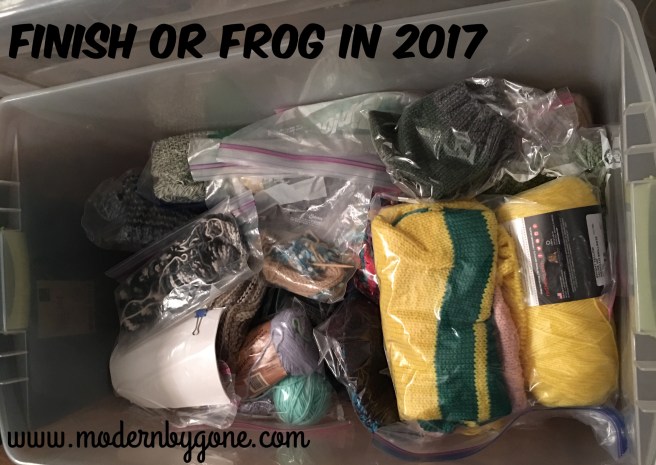
I have a few projects that I would like to complete in the new year.  I would like to complete the cardigan before my birthday in February.  (40!  eek!)  I have a new series in the works for this blog and involves starting up a YouTube channel.  I’ve been busy writing posts for DIYcraftz.  At work I have two student teachers observing in my classroom each week.  Their excitement for the career has me looking at my classroom with a fresh set of eyes.  I am glad to have their inspiration this time of year.

What have you been focusing on so far in 2018?  What projects (craft or otherwise) have you been working on?  What do you want to complete?  Did you set New Years goals?  How are they going?  

Don’t forget to come find me on social media!

On Facebook at Modern Bygone
On Instagram at Modernbygone
On Twitter at Modernbygone
On Tumblr at Modernbygone
On Pinterest at Modernbygone

winter refocus

Holiday Traditions: The Christmas Tree

Every family has a their own holiday traditions.  As the month of December gets started around our home, these traditions roll in with the Christmas tree.

When my husband and I began our lives together, we didn’t have much.  Both of us agreed we didn’t want a Christmas tree covered in random ornaments bought at the local department store.  I had a few glass balls from my Great Grandmother, and a few from my childhood.  That first year, we went and each chose one ornament we felt was significant to us that year.  Our tree was not one that was picture perfect for a magazine, but each ornament on there had a story and we loved it.

Each year since, our family has continued the tradition of adding an ornament for each family member.  We each choose one that has meaning to us that year.  Our Christmas tree has filled up over the years. Now it is splendidly full of all the personality our family brings.

Another holiday tradition for our family is making our own ornaments.  Each year when my children were growing up, we would make a set of ornaments.  We made clay candy canes, yarn weaving on toothpicks, paper chains and snowflakes, and so many others.  One of my favorites was the decoupage ornaments that we made a few years ago.  I went to the local second hand store and purchased a few glass ball ornaments that had seen better years.  The color was chipped and coming off.  Most of them were missing their tops.  More than a few of them had cracks and chips in the glass.  Paintbrushes in hand with Modge Podge and Christmas fabric, my children and I recycled the old ornaments into something new and beautiful.

Every holiday season, I love hearing my children dig through the ornament bins to find the ones they picked or made.  Each ornament hung in just the right place for them.  When they are ready to have their own Christmas trees, I will go through and pack up their own decoration set to start them off.  Passing on the tradition of a Christmas tree decorated not just in pretty ornaments, but in memories too.

If you are interested in trying out the decoupage ornaments, I wrote up a DIY tutorial over on DIY Craftz recently.  They are super fun to make!  Just enough messy for the kids to really have fun, pretty enough to enjoy for years to come, and easy enough for the whole family to make their own.

holidaytraditionsTitle

Knitting Necessities: Notions Boxes

Over the last decade I have knitted my way across the western United States.  Every road trip, weekend get away, and even just a drive for the day my knitting goes along.  My knitting notions boxes make it so I can knit everywhere while on the go without worry I’m missing a vital tool.  When you knit so many different projects like I do, you never know when you will need an extra stitch marker or a cable needle.  Finishing a project while out and about without a tapestry needle is pure torture for me because I can’t stitch in the loose ends.  Don’t even ask how many times I have been caught without a notions box and in need of scissors.  I have chewed my way through yarn more times than I can count.

I keep all my projects separated in large plastic zipper bags.  These bags have the yarn, needles (or hooks), and the paper pattern (or name of pattern on my kindle) in them.  Basically, my project is all packed and ready for me.  When I am ready to work on one of the projects, I simply grab the project that catches my attention, drop a notions box in the bag, and I am ready to craft on the go.

A notions box is a small container that holds all those little tools that make knitting or crocheting easier.  I have a couple of notions boxes that I thought I would share with you in this post.  One I put together myself with bits and pieces out of my collection.  One I purchased pre-made on Etsy.

knitting necessities blue notions box

My blue notions box was put together out of my own supplies.  It has a flexible measuring tape, fold-able scissors, three different tapestry needles, a handful of stitch markers, and a stubby little pencil for paper pattern notes.  This is my go to notions box when I am working on a simple project that will not have need of cables, row counting, or held stitches.

knitting necessities alpaca notions box

I recently purchased this little notions box on Etsy.  The seller is The Sexy Knitter ,she has a whole slew of different designs for these little notions boxes in her store.  You can purchase just the tin, a partially stocked tin, or the fully stocked notions box.  I purchased the fully stocked notions box.  It came with a cable needle, an adorable retractable sheep measuring tape, a wooden needle gauge, a tiny double ended crochet hook, a stitch holder, tiny scissors, a row counter, three tapestry needles, five paper origami star stitch markers, and five plastic safety pin stitch markers. The lid also has a surprisingly strong magnet in the lid to hold the needles.  I was so impressed with this little notions box!  I really didn’t have much faith for those tiny green scissors.  I honestly expected them to not be able to cut very well.  Boy was I wrong!!  Those little things are amazing!

Whether you put a notions box together out of the supplies in your knitting stash, or purchase a pre-made one, a notions box is definitely a knitting necessity!

knittingnecessitiesTitle

DIY Stitch Marker Display

I have started putting together quite the collection of stitch markers.  Originally, I stored them in a small jar on top of my crafting dresser.  They tended to get tangled, and I struggled to find particular sets when I was looking for them.  Today I am sharing my solution.

With this stitch marker display, all of my stitch markers are stored on display.  The safety pins keep them in their sets.  I can quickly unpin, and take the entire set for my project on the go.  Plus, I think they look lovely!

These were quick to make with supplies I happened to have on hand.  I have included links to Amazon if you want to purchase the supplies quickly and easily!

supplies needed

Supplies Needed:

2 – 6 inch embroidery hoops

Safety Pins To Hold Sets

2 Felt Sheets

Scissors

DIY step 1

1.Cut felt sheets so that you have a bit of fabric all the way around the hoops.

DIY step 2

2.Stretch the fabric on the embroidery hoops.

DIY step 3

3.Trim extra fabric from the back of the hoop.

DIY finished

4.Finished!  How easy was that?

DIY Stitch Marker Display Finished

Use the safety pins to display your stitch markers in sets, ready to go!


*This post contains sponsored links from www.amazon.com.  I was not paid to do this post.  However, if you use the links to purchase, I will receive a small compensation.  Thanks for checking it out and helping to support my bloggy habits!*


Finish Or Frog 2017 Progress

Finish Or Frog 2017 Progress

How is everyone doing on their Finish or Frog It 2017 challenge?

I started the challenge with thirty unfinished projects stuffed in a bin.  Over the last few weeks, I have managed to finish several of the projects!  I didn’t realize how many I had that were so close to done.  I put all the shawls and blankets into a bin for next year because I know I won’t finish any of them within 2017.

I spent a good part of my weekend frogging projects I knew I would not finish.  As sad as it was to unravel so many hours of crafting, it really felt good.  Many of those projects were over five years old!  Some had been in bins or boxes so long, I didn’t even remember what they were supposed to be!

Frogged

I have pared my unfinished projects down to just a few to finish in 2017.  I have a pair of cabled finger-less mitts, the second of a pair of flip-top mittens, a pencil pillow, the second of a pair of recycled silk slippers, a hat that just needs a seam, a bag that just needs a seam, a second sock, and one complicated glove left to finish.

I am excited to start 2018 with less than ten projects in my unfinished bin!

How many projects do you have that are unfinished?  How many can you finish before the end of 2017?  Join me in my #finishorfrogit2017 challenge on Facebook, Instagram, and Twitter!

DIY Stitch Markers

When I am working on a pattern for knitting or crochet, I love to have fun stitch markers.  A stitch marker can be as simple as a loop of contrasting yarn, or it can be a detailed little piece of artwork hanging from your work.  Recently, I discovered making my own stitch markers.  I just love how quickly they work up, and I can have beautiful stitch markers on all my projects!  This weekend as I was working on my collection, I figured I would take a few pictures and give you all a tutorial for DIY Stitch Markers.  I have included an Amazon link for each of the supplies for your convenience.

DIY stitchmarker title

First you need just a few supplies:

Round Nose Pliers

4 – 12mm Jump Rings

5 – 8mm Jump Rings

5 Charms

1 Lobster Claw (for crochet or knit)

I like to do one special marker in each set to be used as the beginning marker.  It could be a larger charm, it could have an extra jump ring to make it longer.  For the set in this post, I chose to use a lobster claw clasp.  The lobster claw clasp makes it so that you can hook the marker directly to the yarn in your piece or it can go on the needle in knitting.  If you are just planning on using the stitch markers for knitting, you could skip the lobster claw clasp and just use another 12mm jump ring.

Here are the supplies I used to make this set.

DIY stitchmarker 2

First step is to put one 8mm jump ring on each of the charms.

Use the pliers to gently pull the jump ring open just enough to put the charm on.

DIY stitchmarker 4

Next, slip the charm and either the 12mm jump ring or the lobster claw onto the jump ring.

DIY stitchmarker 1

Use the pliers to gently close the jump ring.  You want to get the ring closed as tightly as possible without squishing it.  This might take a bit of practice.

DIY stitchmarker 3

Repeat these steps with each of the charms, and you will have a complete set of stitch markers to use on your next project!

DIY stitchmarker 6

*This post contains sponsored links from www.amazon.com.  I was not paid to do this post.  However, if you use the links to purchase, I will receive a small compensation.  Thanks for checking it out and helping to support my bloggy habits!*


Finish or Frog In 2017

unfinished projects title

How many unfinished projects do you have hiding around your home?  While cleaning my craft area, I decided to gather all my unfinished projects together.

In no particular order, I have:

  • purple / Teal headband and fingerless glove set
  • alpaca shawl
  • blue nutmeg sweater
  • purple bamboo cabled gloves
  • shell stitch baby blanket
  • flower hexagon blanket
  • granny square blanket
  • grocery bag holder
  • bamboo sweater
  • crochet blue / brown basket
  • pop tart phone cozy
  • rainbow novelty scarf
  • suede bottom slippers
  • black / white cotton fingerless mitts
  • alpaca cowl
  • striped sock yarn bag
  • purple / mint cable headband
  • silk slippers
  • pink i-chord
  • blue cowl (hat?)
  • purple cable cup cozy
  • outline wrap
  • sundance beach bag
  • 2 color hot pad set
  • dark green hot pad set
  • pencil scarf (pillow?)
  • radiant circle throw
  • traveling cable handwarmers
  • lazy weekend socks
  • grey / green hat
  • family mittens sparkly blue / mint

I’m setting a goal for myself to Finish or Frog (rrrriiiiiipppp-it apart) at least 17 of my unfinished non-blanket or shawl projects in 2017. I am not including the blankets or shawls because I know I can’t finish that much in just three months. Plus, the granny square blanket is my scrap project, it will take years to get it finished.

I would love to have you join me in my challenge!  Head over to Instagram, post pictures of your unfinished projects, and use the hashtag #finishorfrogit2017 ! Check in on our Facebook page with pictures of your progress!  I’m even on Twitter to share and celebrate finishing our neglected projects. Let’s see how many projects we can get finished together!

Fall is a time for crafts!

img_0368

Every season has a focus for me.  Summer is all about family road trips and camping.  Winter is storm season here, so we hunker down and spend time together at home.  Spring is a time of renewal, I’m ready to clean and declutter my house and start planning for summer.

Fall is all about crafting.  It is this time of year that I start organizing my craft room and thinking of projects to do.  Last week I posted about organizing my yarn stash.  This week I’ve been looking at my unfinished projects.

There is a sweater, that just needs one sleeve.  A pencil scarf that is only half done.  A shawl that has just a few rows.  A couple of sets of hot pads begun and set down.  At least two headbands and four hats.  The never ending granny square afghan I started for using up my scraps.  And another crochet afghan that was given to me in pieces that just needs a few center blocks, then it will be ready to put together.

I tend to be a bit ADHD when it comes to my projects.  I love to start new projects!  The thrill of a new pattern and excitement of a new item get me going.  Then my interest wanes as my attention is distracted by another shiny new project.

I have set a goal to finish all of my started projects, except the granny square blanket, before the new year.  How do you manage all your unfinished projects?  Are you one that finishes each one before beginning another?  Do you limit how many you have going at once?  Or, are you like me, and you realize just how many projects you have started only when you clean your craft room?

Follow me over on Instagram to watch my progress!


Organizing My Yarn Stash

yarn stash title

This weekend I decided it was time to try and organize my yarn stash.  As an avid knitter and crocheter, I have my fair share of yarn.  Some new and soft still in it’s lovely paper wrapper.  Some old and vintage of questionable ingredients.  Some still in tight skeins, some random small hand wound balls, some half used falling apart skeins.

craft room
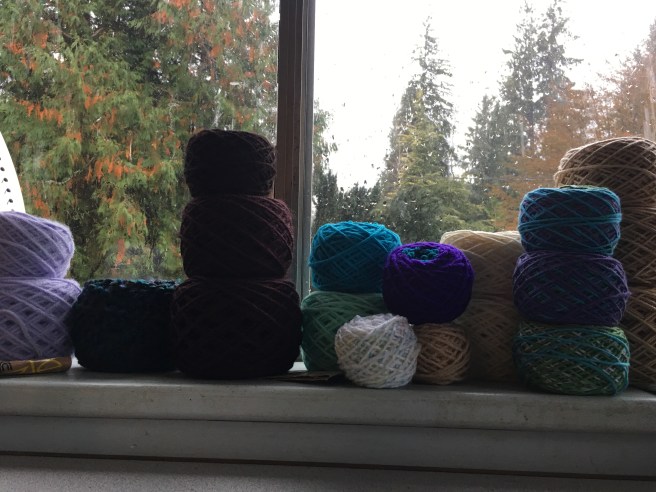
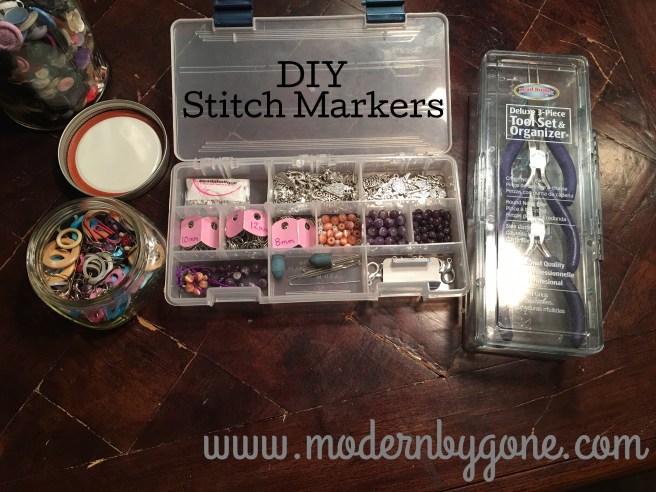
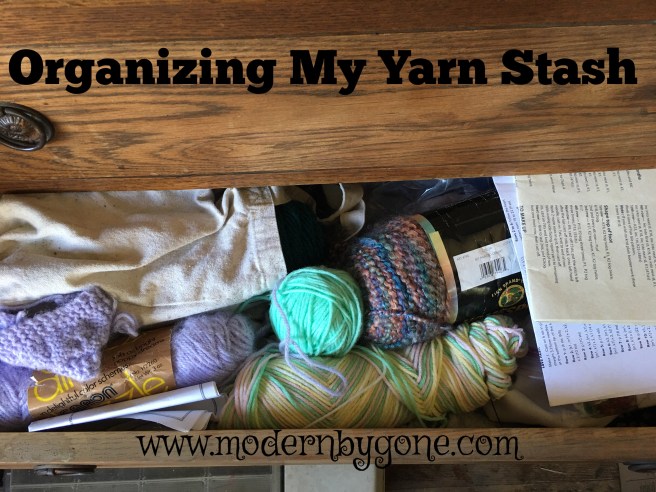
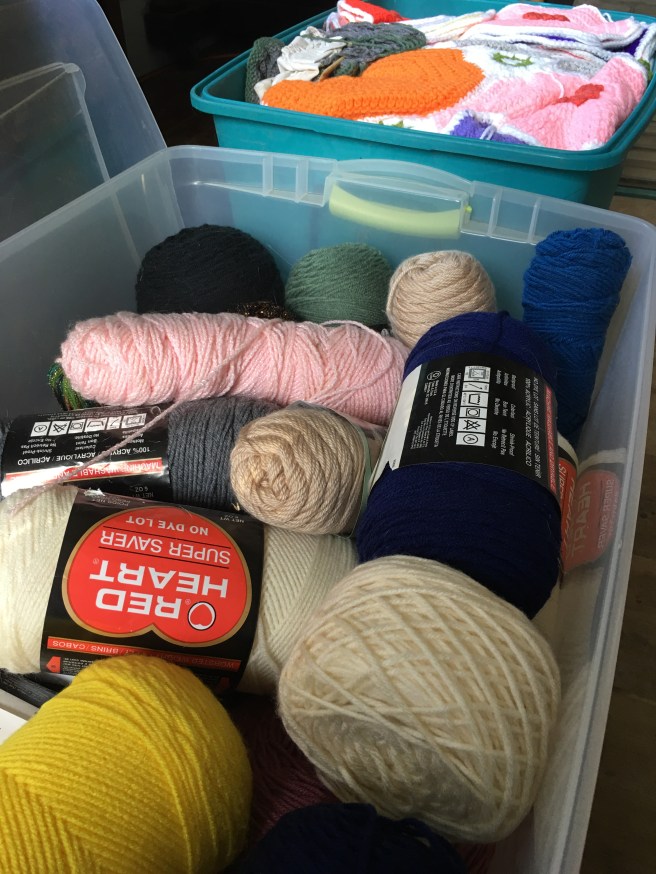
My craft area isn’t very large, and lacks storage.  Most of my yarn stash lives in totes stacked against the wall.  As I use my yarn in projects, I tend to leave the remains all around my house.  Stuffing them into one over full dresser drawer in the craft room when I clean up.

Every few months, I take the time to pull out my totes and try to make some semblance of the yarn stash and WIPs (Works In Process).

yarn stash

This year I discovered a wonderful new tool for organizing my yarn stash!  The YazyCraft Ball Winder turned out to be a real lifesaver!  For under $15 with my prime membership, I had an amazing little tool to help me organize my yarn stash.

Not only was it super easy to use, it quickly made yarn cakes that stored nicely and didn’t make my hand cramp from rolling all the yarn balls!

yazycraft 1

I had a couple of complete skeins that had been damaged in storage that needed to be rewound.  Before the ball winder, I would have spent a good amount of time hand winding the yarn into manageable yarn balls.  With the ball winder, I was able to wind an entire skein into four lovely cakes in less than ten minutes.

yazy one skein

A gallon zipper baggy holds the cakes nice and neat with their band so I know what I have and can match if needed.  Larger batches of yarn or in progress projects fit nicely in 2 gallon zipper bags.

Have you seen the multi-color yarn cakes in the stores?  Such pretty combinations just ready to go for a crafty project.  With my ball winder and my scrap yarns, I can make my own multi-color cakes.  I was so excited to see how this one came out!

multicolor yarn ball

I am excited to use all those tiny balls of scrap yarn to make my own multi-color yarn cakes.    Nothing goes to waste!

Plus, is there anything prettier than a freshly wound yarn cake?

yarnball

*This post contains sponsored links from www.amazon.com.  I was not paid to do this post or review of the YazyCraft Ball Winder .  However, if you use the link to purchase I will receive a small compensation.  Thanks for checking it out and helping to support my bloggy habits!*

Black and White Photo Challenge

Last weekend a friend posted a fun challenge on Facebook.  Take one photo each day in black and white for one week.  No people, no selfies, and no explanation for the photos.  I’ve really enjoyed the process.  I decided that I would set an alarm on my phone for 5pm each day.  Then take a picture of whatever was in front of me.

Head over to instagram to check out my photos in the series.  I’d love to see more people join in the fun.  I’m using the hashtag #blackandwhitephoto.

BW Week Challenge title.jpg