
When I am working on a pattern for knitting or crochet, I love to have fun stitch markers. A stitch marker can be as simple as a loop of contrasting yarn, or it can be a detailed little piece of artwork hanging from your work. Recently, I discovered making my own stitch markers. I just love how quickly they work up, and I can have beautiful stitch markers on all my projects! This weekend as I was working on my collection, I figured I would take a few pictures and give you all a tutorial for DIY Stitch Markers. I have included an Amazon link for each of the supplies for your convenience.
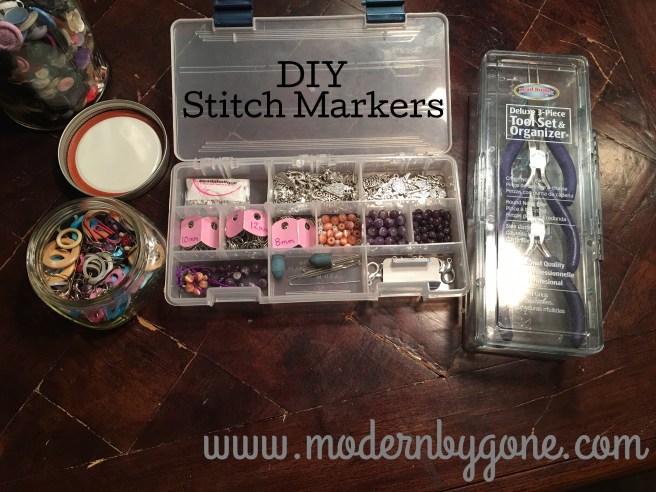
First you need just a few supplies:
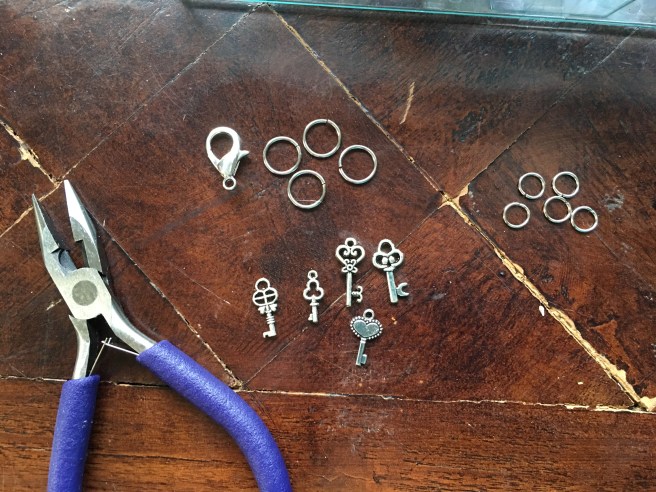
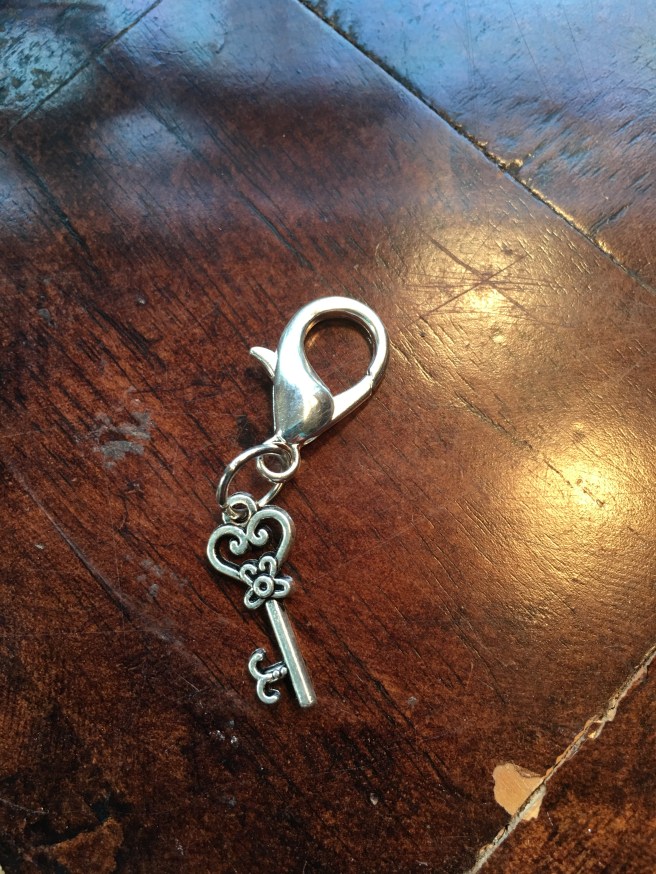
1 Lobster Claw (for crochet or knit)
I like to do one special marker in each set to be used as the beginning marker. It could be a larger charm, it could have an extra jump ring to make it longer. For the set in this post, I chose to use a lobster claw clasp. The lobster claw clasp makes it so that you can hook the marker directly to the yarn in your piece or it can go on the needle in knitting. If you are just planning on using the stitch markers for knitting, you could skip the lobster claw clasp and just use another 12mm jump ring.
Here are the supplies I used to make this set.
First step is to put one 8mm jump ring on each of the charms.
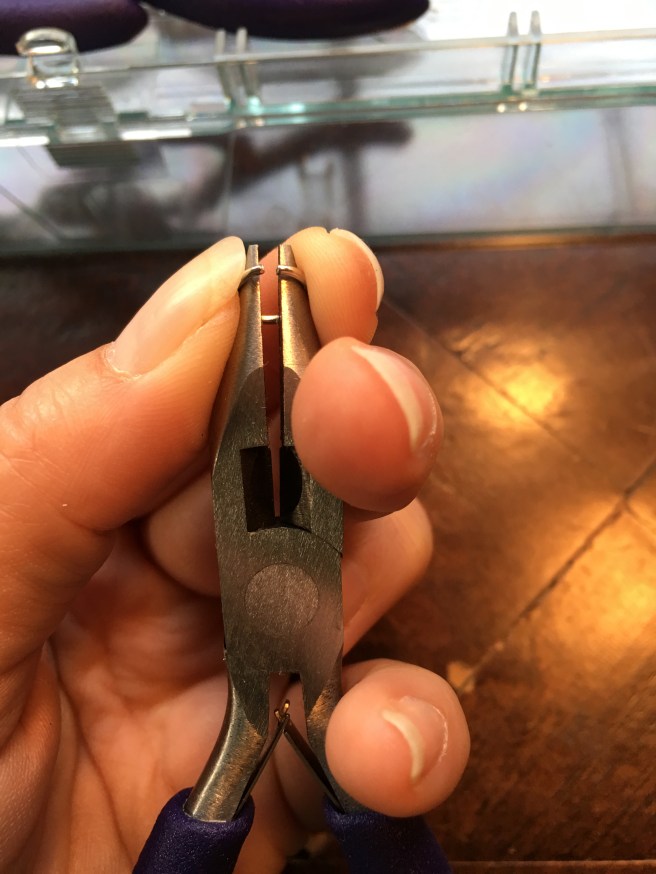
Use the pliers to gently pull the jump ring open just enough to put the charm on.
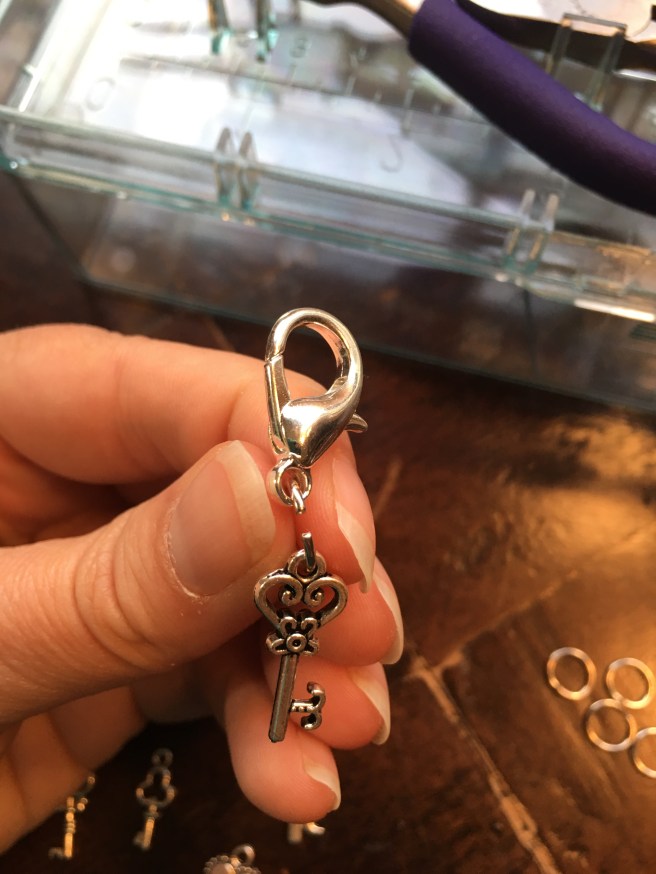
Next, slip the charm and either the 12mm jump ring or the lobster claw onto the jump ring.
Use the pliers to gently close the jump ring. You want to get the ring closed as tightly as possible without squishing it. This might take a bit of practice.
Repeat these steps with each of the charms, and you will have a complete set of stitch markers to use on your next project!

*This post contains sponsored links from www.amazon.com. I was not paid to do this post. However, if you use the links to purchase, I will receive a small compensation. Thanks for checking it out and helping to support my bloggy habits!*

