
Over the last decade I have knitted my way across the western United States. Every road trip, weekend get away, and even just a drive for the day my knitting goes along. My knitting notions boxes make it so I can knit everywhere while on the go without worry I’m missing a vital tool. When you knit so many different projects like I do, you never know when you will need an extra stitch marker or a cable needle. Finishing a project while out and about without a tapestry needle is pure torture for me because I can’t stitch in the loose ends. Don’t even ask how many times I have been caught without a notions box and in need of scissors. I have chewed my way through yarn more times than I can count.
I keep all my projects separated in large plastic zipper bags. These bags have the yarn, needles (or hooks), and the paper pattern (or name of pattern on my kindle) in them. Basically, my project is all packed and ready for me. When I am ready to work on one of the projects, I simply grab the project that catches my attention, drop a notions box in the bag, and I am ready to craft on the go.
A notions box is a small container that holds all those little tools that make knitting or crocheting easier. I have a couple of notions boxes that I thought I would share with you in this post. One I put together myself with bits and pieces out of my collection. One I purchased pre-made on Etsy.
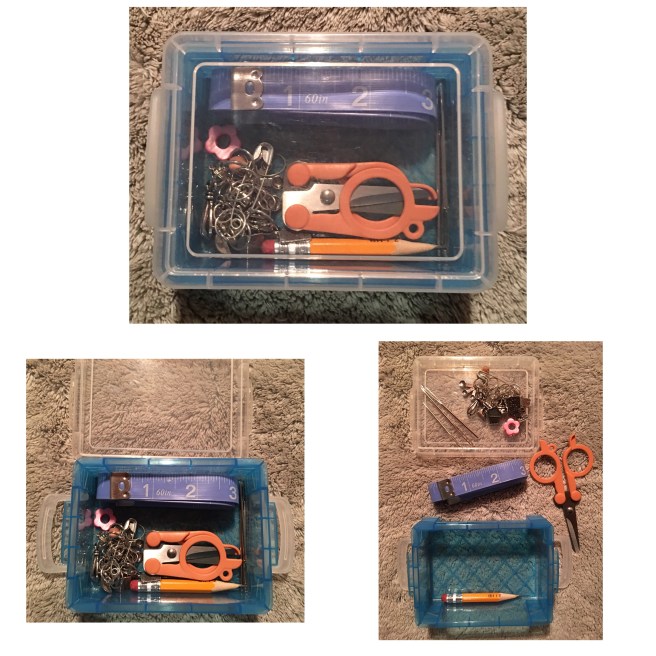
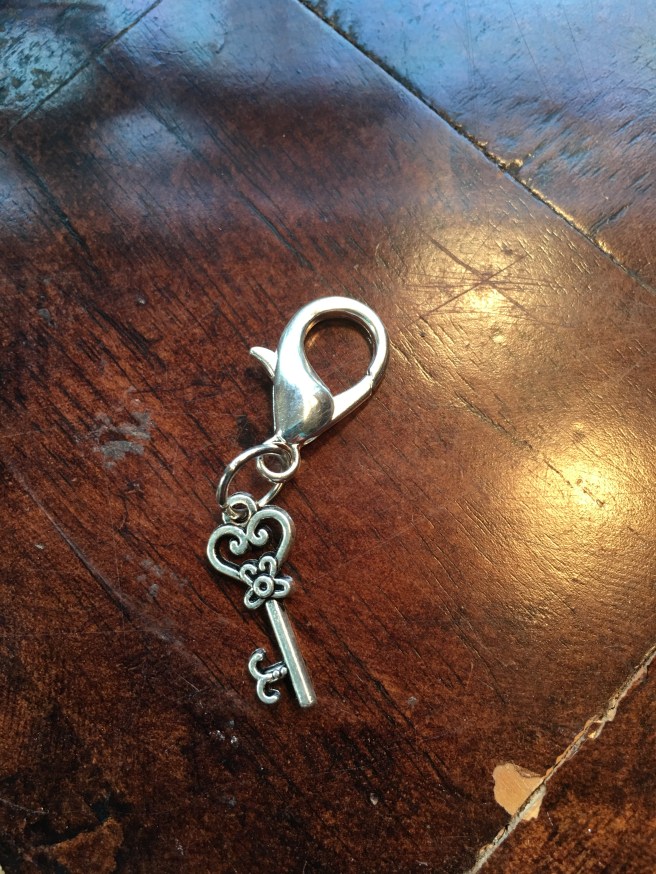
My blue notions box was put together out of my own supplies. It has a flexible measuring tape, fold-able scissors, three different tapestry needles, a handful of stitch markers, and a stubby little pencil for paper pattern notes. This is my go to notions box when I am working on a simple project that will not have need of cables, row counting, or held stitches.

I recently purchased this little notions box on Etsy. The seller is The Sexy Knitter ,she has a whole slew of different designs for these little notions boxes in her store. You can purchase just the tin, a partially stocked tin, or the fully stocked notions box. I purchased the fully stocked notions box. It came with a cable needle, an adorable retractable sheep measuring tape, a wooden needle gauge, a tiny double ended crochet hook, a stitch holder, tiny scissors, a row counter, three tapestry needles, five paper origami star stitch markers, and five plastic safety pin stitch markers. The lid also has a surprisingly strong magnet in the lid to hold the needles. I was so impressed with this little notions box! I really didn’t have much faith for those tiny green scissors. I honestly expected them to not be able to cut very well. Boy was I wrong!! Those little things are amazing!
Whether you put a notions box together out of the supplies in your knitting stash, or purchase a pre-made one, a notions box is definitely a knitting necessity!